|
RedHat/Linux Remote Printer Config |
| Jesse Burkhardt |
This document discusses how to attach your RedHat/Linux box to a remote printer using TCP/IP protocols. The beauty of this is that no cumbersome, and potentially insecure, Samba service is required. Both Linux and Windows based machines may access the same printer seamlessly. Only the LPD (line printer daemon), not CUPS, service is used here.
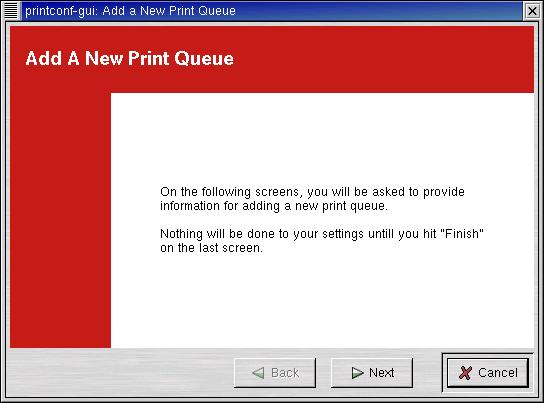
To start you must create what is known as a pintcap file. When using RedHat Linux you can use the the RedHat Printer Configuration tool, which will automatically edit your /etc/printcap file for you. You start this utility by clicking on the Mail Menu > Programs > System > Printer Configuration. As illustrated below, you must first enter the root password.

After which the following printconf-gui interface will pop up.
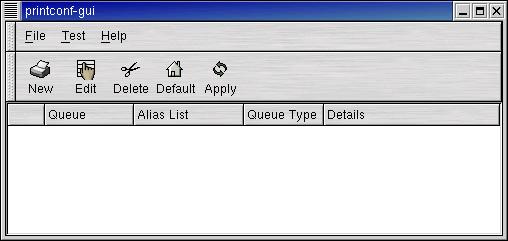
Click on the New icon to bring a the printconf wizard.
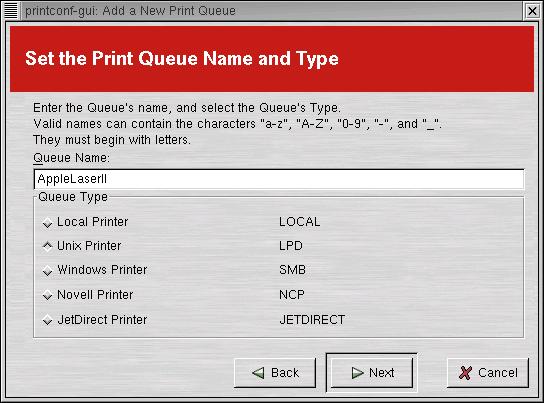
Use the queue name of AppleLaserII and make sure to select Unix Printer (LPD) as the your printer type. (LPD stands for line printer daemon.)
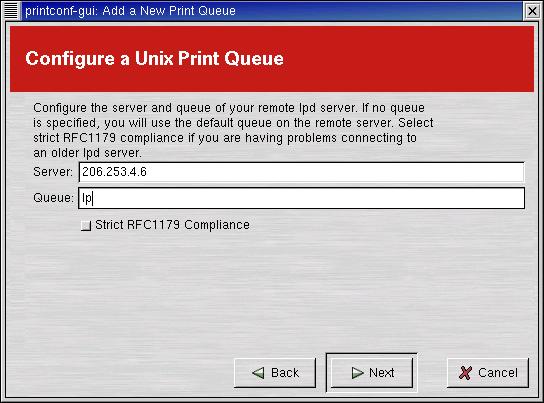
When you configure a Unix print queue use the IP address of the TCP/IP based printer, which in our case is 206.253.4.6. (We could use a resolvable subdomain name as well.) We also call the queue on the remote printer lp. Typically the remote printer object is referred to as lp@206.253.4.6 .
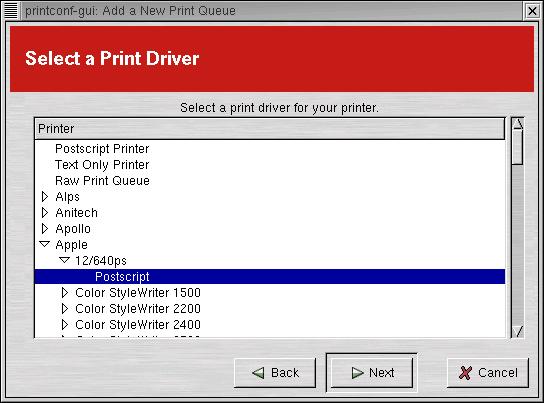
Once you have done this you must select the associated printer driver for the remote printer.
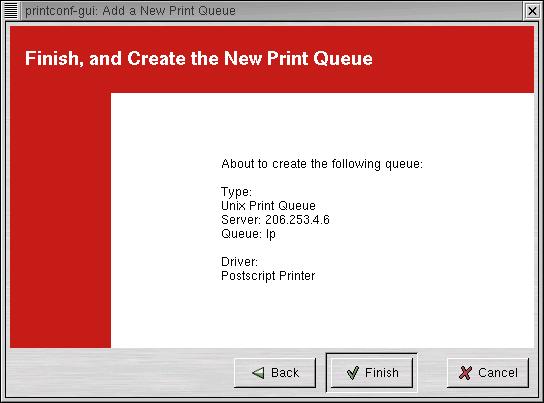
Having completed these steps you will see a completion panel with your pertinant information recorded. Click the Finish button
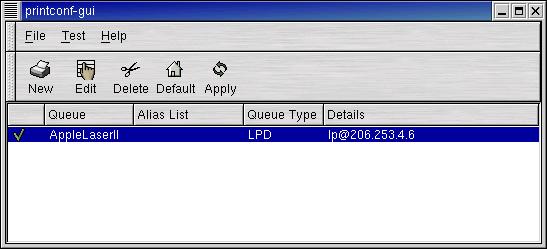
Click the Finish button and you will now see your printer enumerated as follows.
* At this point it is advisable to click both the Default and then the Apply buttons to save and make this remote printer your default printer. Your LPD daemon will be started or restarted at this point.
Print Queue Notes:
If you have problems with your LPD service or you change some configuration setting by hand, you may restart your LPD service (from a shell console window) with the command, service lpd restart. You may observe the status of your print job submissions by simply issuing the lpq command. When you want to cancel a print job simply type lprm ###, where '###' is the print job number.
The follow is sample shell console output from using the lpq command:
[root@mercury AppleLaserII]# lpq
Printer: AppleLaserII@mercury (dest lp@206.253.4.6)
 Queue: 1 printable job
 Server: pid 26207 active
 Unspooler: pid 26208 active
 Status: sending data file 'dfA206mercury.skybuilders.com' to lp@206.253.4.6 at 18:56:50.203
 Rank   Owner/ID                  Class Job Files                 Size Time
active jesse@mercury+206            A   206 (STDIN)               8831 18:56:49
done   root@mercury+65              A    65 /usr/share/printconf 18052 18:48:54
no entries
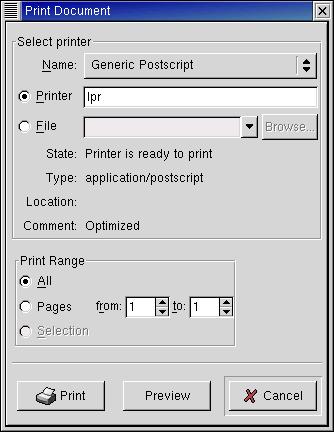
Printing from Applications:
An example of a print interface panel when printing from and application may look like this one using GNOME's gedit. It is important to make sure that if you are running LPD that you have the printer line set to use the lpr command, which will default to using your AppleLaserII printcap entry.
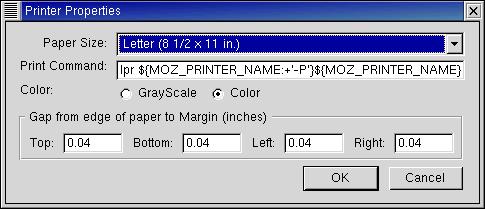
Also observe from this Printer Properties panel, that pops up when you click the Properties button when printing from a Mozilla browser, that the command line area begins with the lpr command.